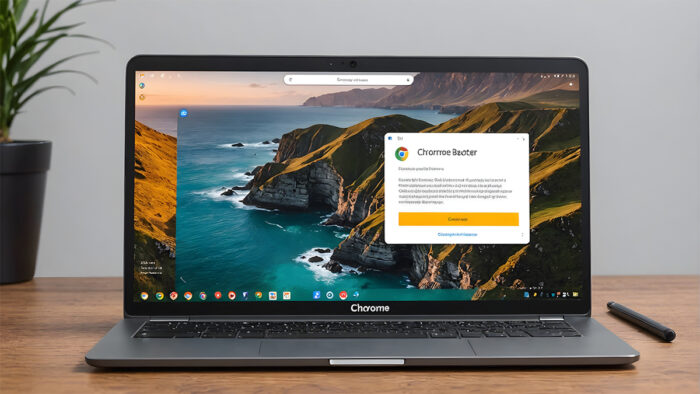
Screenshots can be very important for different reasons. For instance, you can send copies of messages to show a friend or save a tweet that you think may be deleted minutes later. In recent times, laptops have different ways you can take screenshots, and Chromebook is no exception. However, Chromebooks can be somewhat confusing for a new user because their keyboards are a little bit different from those on Windows PCs or Macs.

Are you a new user who is curious about how to take screenshots on a Chromebook? Well, I have got you covered. Luckily for you, in this article we will be talking about how to screenshot on a Chromebook. Read to the very end to check out the methods available to go through the process.
How to Take a Screenshot on a Chromebook with a Keyboard Shortcut
The easiest way to take screenshots is by using key combinations. If you are very lucky, the Chromebook may have a screenshot key that looks like a small circle in a square. If that is the case, you are set.
In a different case, a fast way to take a screenshot of the whole screen is to click on the “Ctrl + Show windows “key combination. Just so you know, the Show Windows key looks exactly like a rectangle with two lines on its right side.
It is located at the top row of your keyboard. If you make use of an external keep board without the show button, click “Shift + Ctrl +F5.
If you want more choice, you should click on “Shift + Ctrl + Show keys. This will give you the exact menu you will get if you use the Quick Settings menu option.
Take a Screenshot on Chromebook via the Quick Settings menu
If you have a hard time remembering shortcut keys, this is the best option for you. Google added a screen capture option to the Quick Settings menu. Here is what you need to do to take a screenshot through the Quick Settings menu:
- Launch “Quick Settings” at the bottom right of your screen.
- Tap on the “Screen capture” option. (This resembles a circle in a square.)
- Ensure that you check that what you want to capture is on the screen.
- Select from the menu You may want to capture a single window, a full screen, or part of the screen.
- You can also choose to record all of your screen or some of it.
- Now, tap on “Capture.”.
There is a settings icon on the menu; you can click on it to see where your mic should be and adjust your input. And choose the folder that you wish to save the recording or screenshots to.
After you take the screenshot, a copy of it will appear in a window. Tap on it for it to appear in a folder. Just so you know, every screenshot you take will end up in the download folders automatically. However, you can change the folder you wish to save it to through the settings button in the “Screen Capture” option.
You can tap on the “Delete” or Edit option. This edit option will take the screenshot to an app that allows you to perform tasks such as rotating, cropping, annotating, rescaling, or tweaking the light.
Where Can I find the Chromebook Screenshots?
Automatically, the screenshots are copied to your clipboard and appear in Tote. Tote is a feature on Chrome OS 89 in order to keep your files at your fingertips. You can open Tote from the shelf to get access to screen captures, recent downloads, and your pinned files. If you are not in a hurry and you want to save something for later, kindly visit the download folders.
How to Take Screenshot on a Chromebook Tablet
If you have a tablet and do use a keyboard with it, you don’t need to worry. There is a very simple combination that you can use to screenshot. All you need to do is press the power and volume down buttons simultaneously. Then, a picture of your entire screen will be taken, and it will be saved on the device.
Google has made it very easy for you to grab your Chromebook and take a snap of your screen. You can use the above steps, depending on what you wish to capture. I really hope this tip will be useful for people looking for information on how to take a screenshot on a Chromebook.


