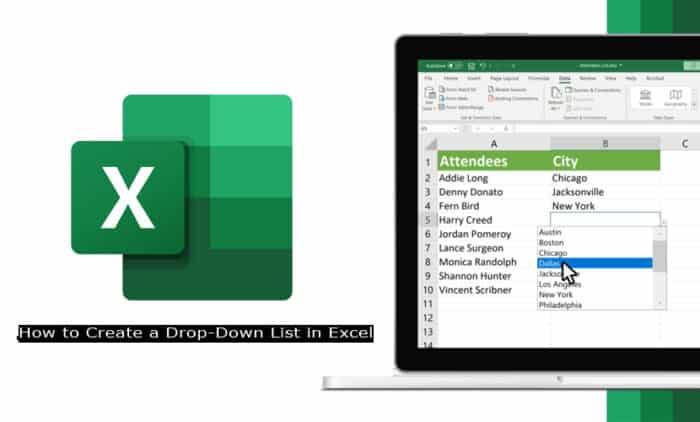
How to create a drop-down list in Excel – Making a drop-down list in Excel is like having a handy menu of options that you can pick from instead of typing everything out. It’s a quick way to save time, especially when you need to fill in forms.

Imagine running a business like keeping a well-organized closet. There are many apps for this, but Microsoft Excel is like a reliable closet organizer. Creating a drop-down list in Excel is like neatly placing your items on the shelves of your closet.
Excel isn’t just for lists; it’s like a superhero tool that helps you manage your schedule, track your money, handle business info, or plan a budget. The drop-down list in Excel is like a shortcut that makes putting in information super easy, saving you time and effort.
So, do you want to use Excel for organizing and managing your schedule and more? Then you need to know how to use it. Want to know how? Read on to find out.
How to Create a Drop-Down List in Excel
Creating a drop-down list in Excel is pretty easy. If you want to create one, you can follow the simple instructions below:
- Enter the list of drop-down values in a column.
- Ensure that you enter every drop-down item in a separate, consecutive cell in the same column.
- Tap the cell where you want to insert your drop-down.
- You can insert a drop-down list in any empty cell on your spreadsheet.
- Tap the Data tab. You will find this located at the top of your spreadsheet. It will then open your data tools.
- Tap Data Validation. It is the button on the Data toolbar that looks like two separate cells with a green checkmark and a red stop sign.
- Tap the Allow drop-down. This is in the settings tab of the Data Validation window.
- Choose List. This option will enable you to create a list in the chosen cell.
- Check the box in-cell dropdown option. When this option is checked, you will then create a drop-down list in the chosen cell on your spreadsheet.
- Check the box in-cell dropdown option.
- When you check this option, you will be able to leave the drop-down empty without any error messages.
- If the drop-down list you are creating is very important, ensure that you don’t check this box.
- Tap the text box under the source in the pop-up. You can choose the list of values that you want in your drop-down.
- Tap the upward arrow button to minimize the data validation window, which will show only the cell range text box.
Lastly, choose your drop-down list value on the spreadsheet. Tap and drag the cursor to choose the list of values that you want in the drop-down.
How To Add List Properties
To add List Properties follow the steps below:
- Tap Input Message. It is the second tab located at the top of the data validation window.
- This tab will enable you to create a pop-up message to display right next to your drop-down list.
- Check the box Show Input message when the cell is selected.
- This shows a pop-up message when the drop-down cell is selected. If you don’t want to show a pop-up message, you can just leave it unchecked.
- Enter a title and an input message.
- You can use this area to describe, explain, or give more details about the drop-down list.
- The title and input message you enter will display on a small, yellow pop-up sticky note right next to the drop-down when the cell is chosen.
- Tap Error Alert. This tab will enable you to display a pop-up error message each time invalid data is entered into your drop-down cell. Check the box that says Show error alert after invalid data is entered. When you check this option, an error message will pop up when a user types invalid data into the drop-down cell.
- Choose an error icon in the Style drop-down. You can choose Warning, Stop, or Information.
- Enter a custom title and error message. Your custom error title and message will show up when invalid data is entered into the drop-down cell.
- Tap OK. This will create an insert for your drop-down list into the chosen cell.
Then the users can tap the drop-down button right next to the cell to choose an item. They can make changes to the data validation drop-down list by choosing the cell with the drop-down and tapping the data validation button.


